Setting up local LLMs for R and Python


Recently, Posit created ellmer and chatlas, two free and open-source packages for interacting with large language models (LLMs) in R and Python, respectively. In this post, we’re going to explain how you can use these packages with a local LLM.
There are many options when choosing an LLM for generative artificial intelligence (GenAI). Many organizations now offer access to LLMs for internal use so that the prompts and responses can be behind the institution’s firewall and do not cross into the open internet. However, some institutions curb the use of those LLMs with rate limits (only allowing a certain number of questions per hour) or limit functionality to chat-only experiences. You would have to “buy in” to another LLM to use them with packages like ellmer or chatlas, which allow you to connect your code via application programming interfaces (APIs) to powerful LLMs and integrate them directly into your workflows.
One popular and “free” option in these instances is a “local LLM”, an LLM that runs solely on your machine and does not send your prompts or the LLM’s responses over the open internet to a company’s external servers. When you ask it a question or give it a task, everything stays within the confines of your computer. Or, if the local LLM exposes an API, it does so to your local network.
This local setup offers significant advantages, especially when privacy is a concern. If you’re working with sensitive data or simply prefer to keep your interactions private, a local LLM ensures your information doesn’t venture out. You have complete control over the LLM and your data.
If you’re using ellmer or chatlas to access LLMs in R or Python, these free and open-source packages support a variety of providers, including the local LLM provider Ollama. A few months ago, Google DeepMind released Gemma 3 1B. The “1B” refers to the fact that this LLM has 1 billion parameters, which is smaller than many other LLMs, but it is specifically marketed for “resource-limited devices” (for example, a Raspberry Pi or an old laptop), as we’ll see in this post. Newer models have since been released, but Gemma 3 1B is already too small to be very useful at R coding (more on that below).
While local LLMs are an appealing, cost-effective solution, you should set realistic expectations for their output quality. For top-tier responses and performance, you should consider paying for LLMs from providers like Anthropic (e.g., Claude Sonnet 4) or OpenAI (e.g., GPT 5). If you’re interested in deeper evaluations, Simon Couch has written a blog series evaluating recent LLM releases, and with Sara Altman, co-authored posts comparing LLMs for R code generation and Pandas code generation.
The whole game
Getting a local LLM up and running boils down to just two main actions:
- Install Ollama locally: This is the tool that will manage and run your local AI LLMs.
- Connect to the local LLM in your code: Tell ellmer or chatlas to talk to your local Ollama setup with the
chat()function.
That’s it! You’re literally a couple of commands away from having an LLM running right on your machine.
Install Ollama
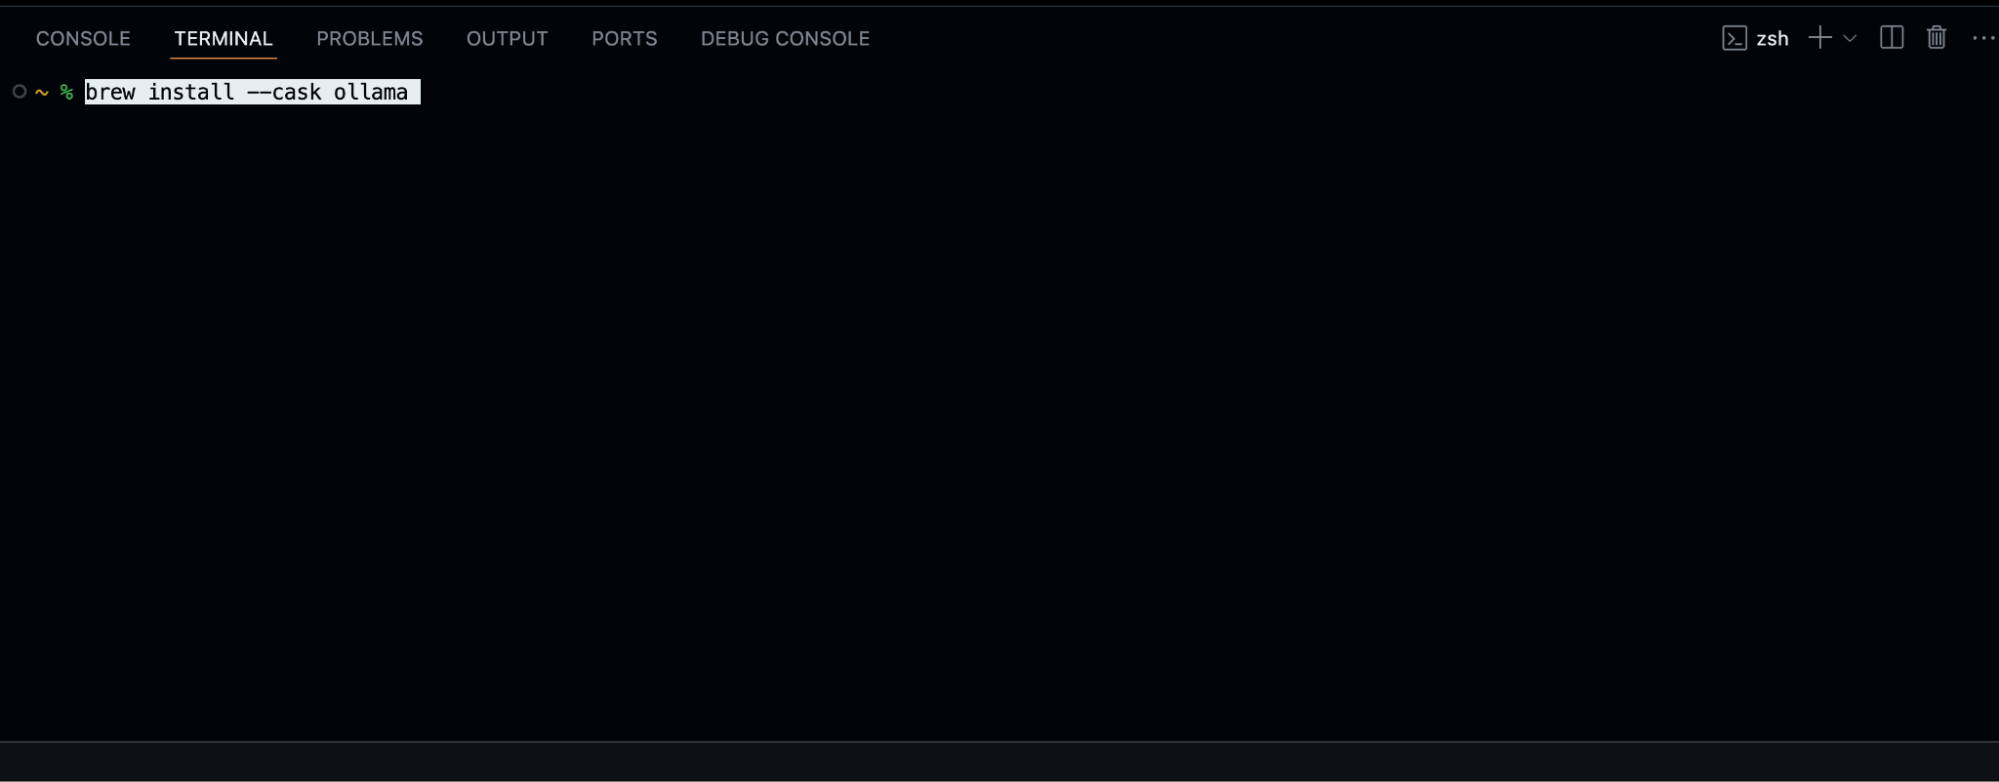
The first step is to install Ollama on your machine. You can install Ollama in all major operating systems. If you’re a Mac owner, you can use Homebrew to run this on the command line:
brew install --cask ollama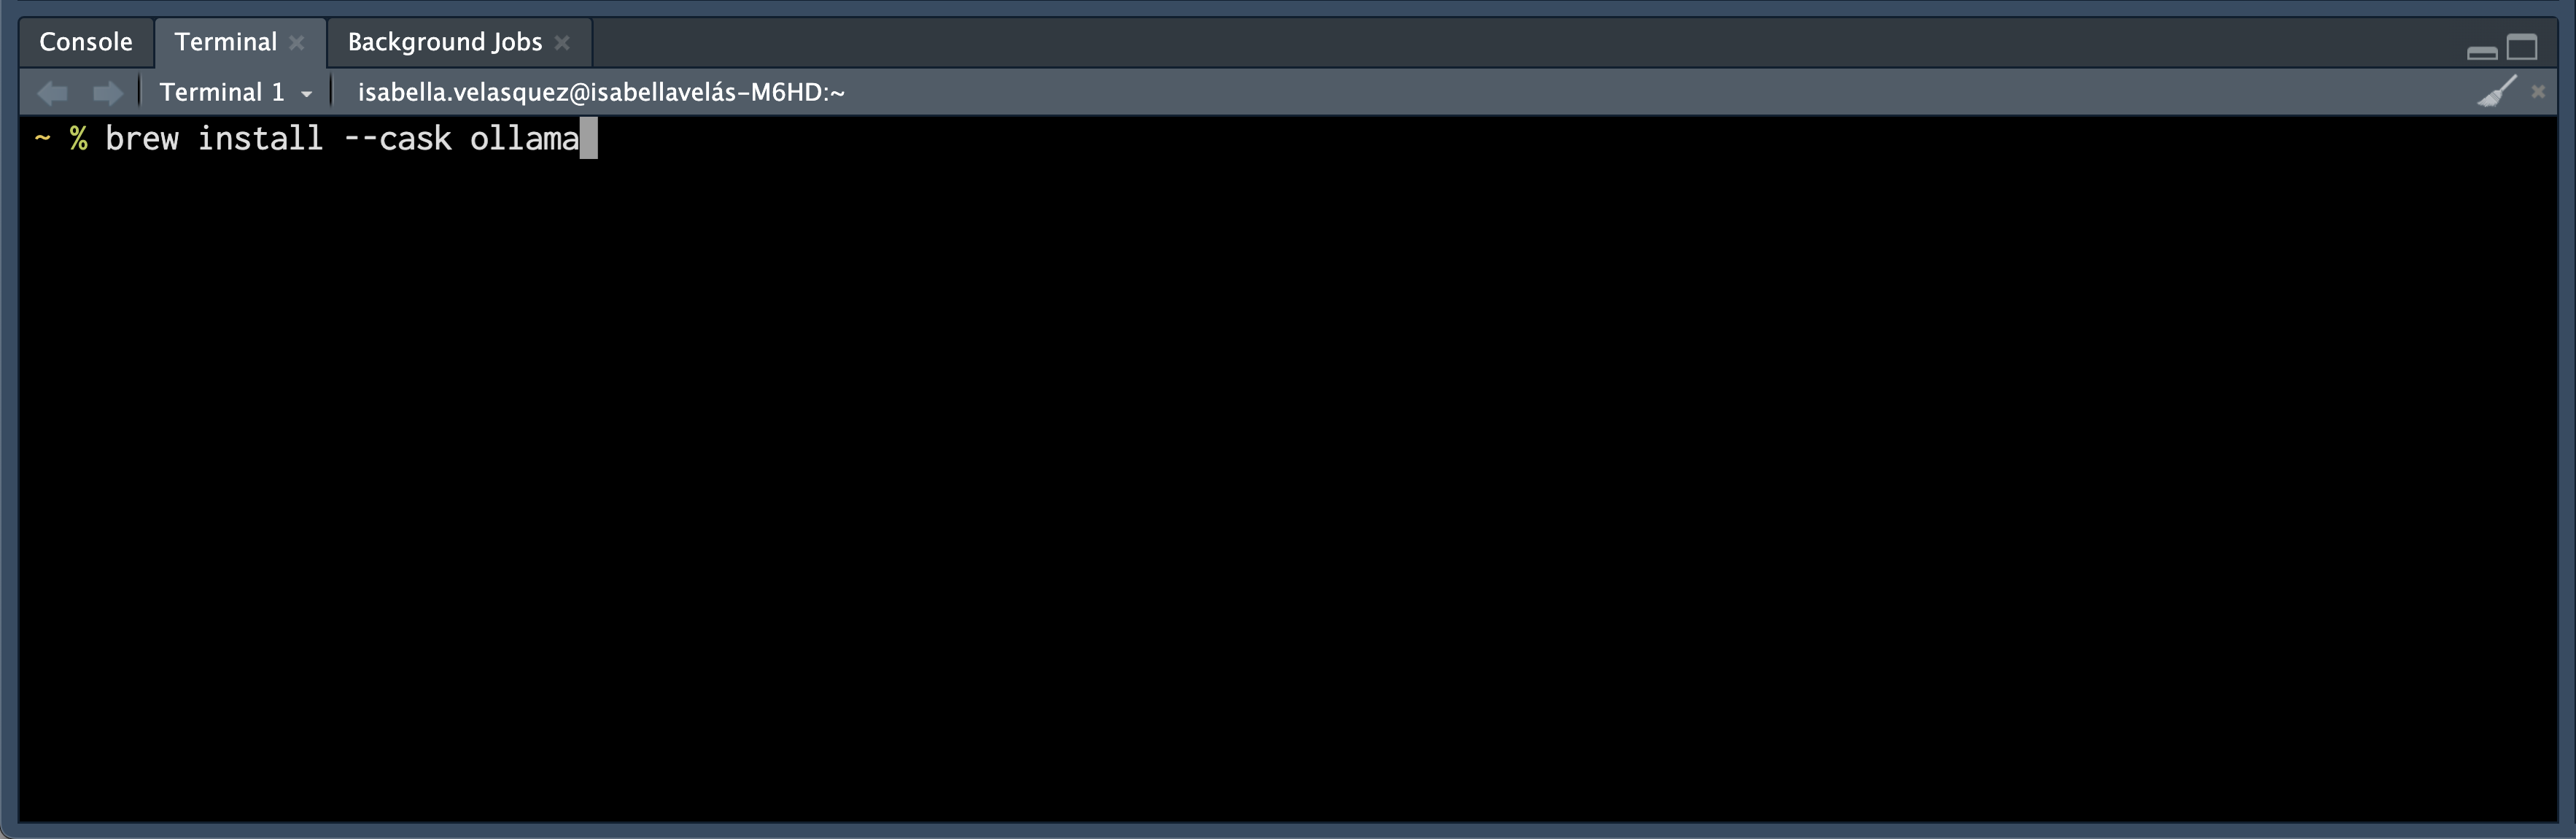
Once Ollama is installed, you can start playing around with it using various commands in the Terminal. Here are a few useful ones to get you acquainted:
ollama --help # see commands
which ollama # find out where your ollama is installed
ollama --version # find out ollama version
ollama list # list installed models
ollama ps # list running models
ps aux | grep ollama # see if the ollama process/service is running
Install Gemma 3 1B
Now that you have the engine (Ollama), you need to install a language model. You can do this using the ollama run command followed by the name of the model you want.
Choosing the right model depends a bit on your computer’s resources, especially its RAM (Random Access Memory). Ollama gives a helpful rule of thumb for which model “flavor” to choose:
You should have at least 8 GB of RAM available to run the 7B models, 16 GB to run the 13B models, and 32 GB to run the 33B models.
The landing pages for individual LLMs may also provide guidance on which flavor to choose. The higher the billions of parameters (e.g., 1B versus 33B) in the model you choose, the better the LLM will perform in terms of quality of responses, but it will consume more resources on your computer and thus more electricity. If the demand for resources outstrips what your computer can provide, that may cause your computer to become unstable and perhaps crash.
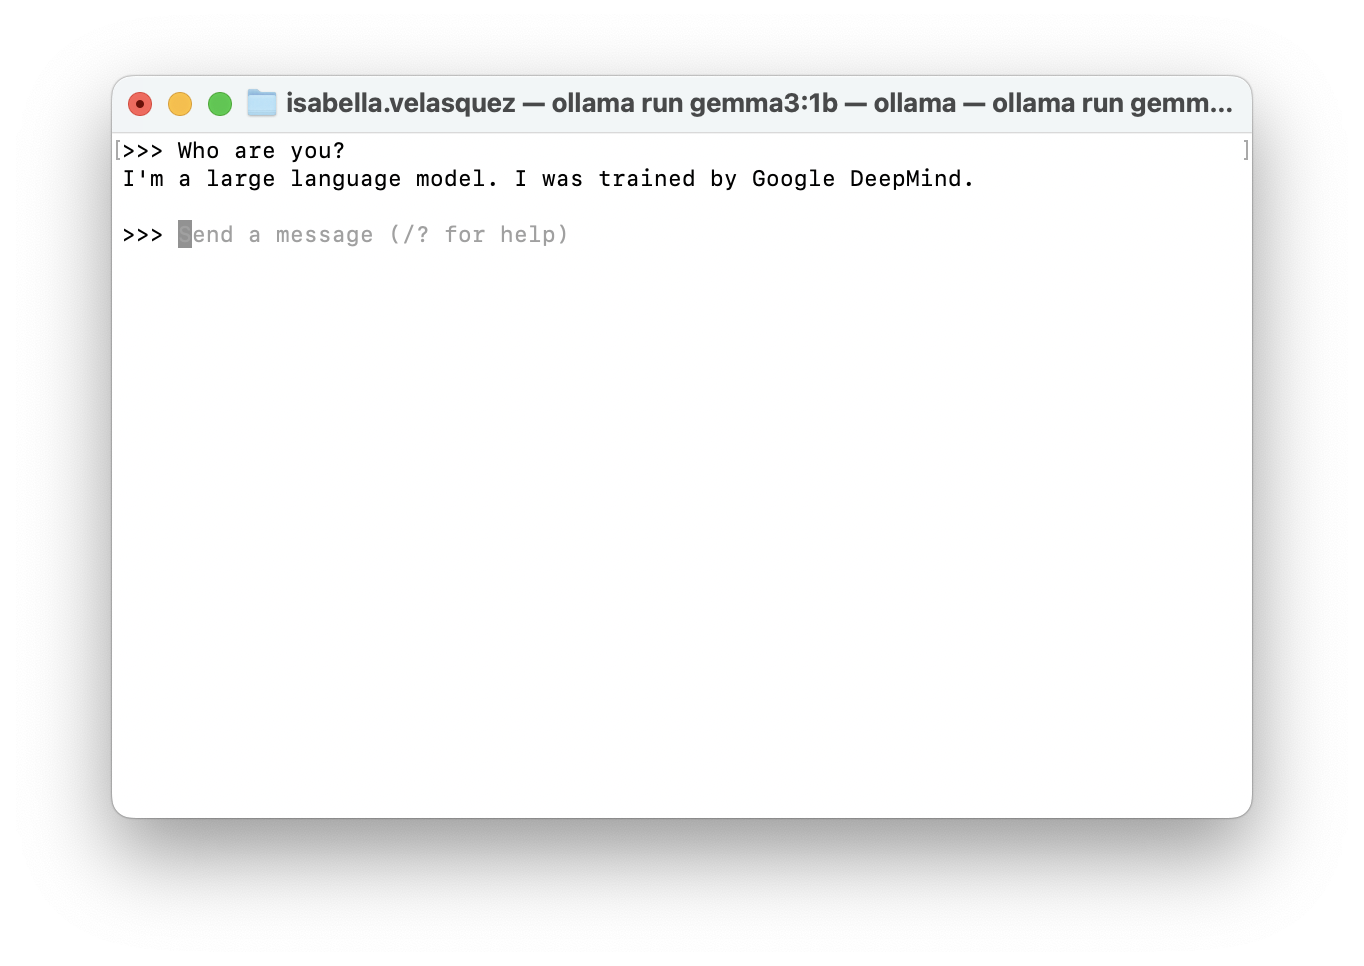
For this tutorial, we’re going to install Gemma 3 1B. It’s a relatively recent model from Google and only takes up 815 MB on disk. Run this command on the command line:
ollama run gemma3:1bThis command will automatically download Gemma 3 1B onto your computer. Once it’s done, it will show a prompt (>>>), meaning that you can converse with Gemma.
To exit the Gemma chat, type:
/byeLocal LLM power, all in one place
Remember, the beauty of a local model is that everything runs right on your computer. ellmer and chatlas are designed to communicate with Ollama, which in turn manages the local LLM. It’s a self-contained AI ecosystem on your machine!
Before you can chat with Gemma through ellmer or chatlas, you usually need to make sure Ollama is running in the background. Open your Terminal and run the command we used to install the model: ollama run gemma3:1b.
Now, let’s look at how to tell ellmer or chatlas to use our local Gemma model. We do this by creating a special chat object in our code.
Use the tabsets to change languages
To make this easier to follow, we’ve organized the code examples into tabsets. If you’re interested in the Python code, click the “chatlas” tab; for the R code, click the “ellmer” tab. The tabs switch between the code for each language.
library(ellmer)

chat <- chat_ollama(
  model = "gemma3:1b",
  system_prompt = "You are a terse and helpful assistant."
)
import os
from chatlas import ChatOllama
chat = ChatOllama(
model = "gemma3:1b",
system_prompt = "You are a terse and helpful assistant.",
)Once you have your chat object set up, you have several ways to interact with your local LLM. One of the simplest is an interactive chat. You can type your questions or prompts, and Gemma’s responses will appear directly in the console.
live_console(chat)chat.console()The real power comes when you integrate your local LLM into more complex applications. For example, you can spin up a Shiny chatbot by running the code below:
library(ellmer)
library(shiny)
library(shinychat)

ui <- bslib::page_fluid(
  chat_ui("chat")
)

server <- function(input, output, session) {
  chat <- chat_ollama(
    model = "gemma3:1b"
  )

  observeEvent(input$chat_user_input, {
    stream <- chat$stream_async(input$chat_user_input)
    chat_append("chat", stream)
  })
}

shinyApp(ui, server)
from chatlas import ChatOllama
from shiny.express import ui
chat = ui.Chat(
id="ui_chat"
)
chat.ui()
chat_model = ChatOllama(model = "gemma3:1b")
@chat.on_user_submit
async def handle_user_input():
response = chat_model.stream(chat.user_input())
await chat.append_message_stream(response)A spare computer as your personal AI server
Let’s explore how you can have your coding environment on one computer and the heavy lifting of running the local LLM on another. Let’s say you have a spare computer laying around and would like to use it for compute. For example, I have a 2015 MacBook Pro that’s still kicking. By setting it up as a server to run Ollama, you offload the computational demands of the LLM from your primary coding machine. These things run fast if you have a small enough model, even on old hardware (which has a GPU!).
The big win here is resource management. When you run Ollama on another computer (a ‘server’), it will not max out all the CPU cores and RAM on the computer where you’re doing your coding (the ‘client’). If you’re like me, the usual state of my computer when I’m coding is that I’ll have a browser open with many tabs, a word processor, Slack, and a number of other apps that consume RAM, which I’d still want to use while the LLM is ‘thinking’. With my aging laptop, I can leverage a separate worker dedicated solely to AI tasks.
To connect to an Ollama server running on another computer, you need to tell ellmer or chatlas the network address of that server. This usually involves specifying the server’s IP address and the port that Ollama uses for communication (which is 11434 by default).
Here’s how you’d configure your chat object in ellmer or chatlas to connect to a remote Ollama server. Notice the key difference: we’re now using the base_url argument. You’ll need to replace the server_ip_address placeholder with the actual IP address of the computer running Ollama. You can usually find this in your network settings on that machine.
server_ip_address <- "ADD YOUR SERVER'S IP ADDRESS HERE"

library(ellmer)

chat <- chat_ollama(
  system_prompt = "You are a terse and helpful assistant.",
  base_url = paste0("http://", server_ip_address, ":11434"),
  model = "gemma3:1b",
)
import os
from chatlas import ChatOllama
server_ip_address = "<ADD YOUR SERVER'S IP ADDRESS HERE>"
chat = ChatOllama(
model="gemma3:1b",
system_prompt="You are a terse and helpful assistant.",
base_url=f"http://{server_ip_address}:11434",
)Once you’ve set up the chat object with the correct base_url, you can interact with the LLM running on your server just as you would with a local model using functions like live_console(chat) in ellmer or chat.console() in chatlas. The communication happens over your local network.
For example, a Raspberry Pi 4 8GB running Gemma 3 1B to answer a query runs all four CPU cores at 100% and occupies 2GB out of 8GB. The screenshot below was taken using the htop command line utility while monitoring my Raspberry Pi 4 on my phone using the Termius iOS app.
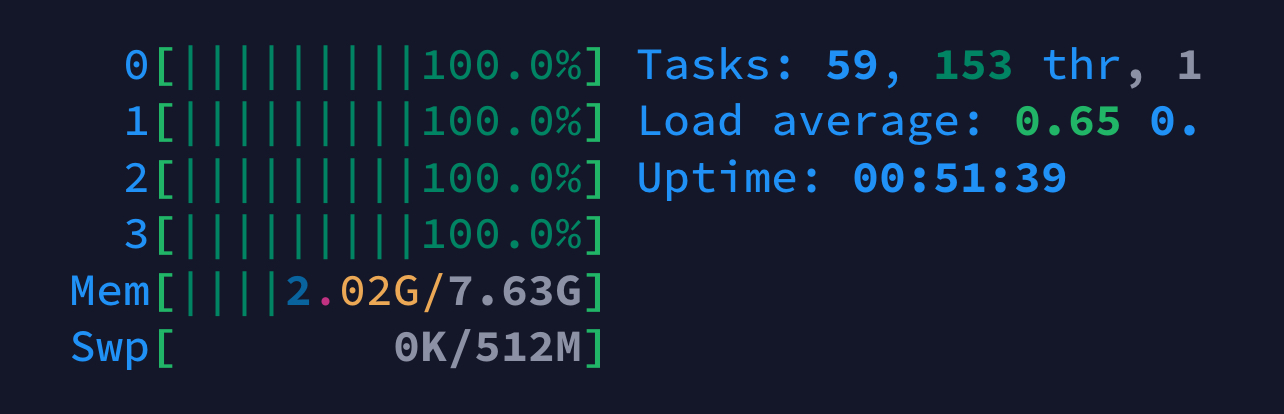
This highlights the benefit of offloading this processing to a separate machine. While the Raspberry Pi is crunching the AI’s response, your main coding computer remains free to handle other tasks smoothly.
A few considerations for a remote Ollama server:
- Your client and server computers need to be on the same local network for them to communicate. If not, you’ll need a more complex network setup such as Tailscale serve.
- Make sure that the firewall on the server computer isn’t blocking connections on port 11434. You might need to configure it to allow incoming traffic on this port.
- The IP address of your server might change if you’re using DHCP (Dynamic Host Configuration Protocol). You might want to set a static IP address for your server to ensure consistent connectivity.
Tips for using local LLMs with chatlas or ellmer
Refining output
While the accessibility and privacy of local LLMs are fantastic, one downside of these smaller language models is that they might not have the same level of sophistication or knowledge as their larger counterparts. They seem to make up for that by being very chatty. Getting them to be concise and focused can sometimes be a challenge.
This is where the art of prompt engineering comes in, and both ellmer and chatlas provide tools to help you refine the output of these local models. By crafting a well-designed system prompt, you can significantly influence how the model responds and make it behave more in line with your needs. You should use a “good enough” set of defaults when running these LLMs locally. The system_prompt argument in the chat() functions of both ellmer and chatlas will preface your questions with your desired system prompt. For example, below, we tell the chat object that “You are a friendly but terse assistant.”
chat <- chat_ollama(
    model = "gemma3:1b",
    system_prompt = "You are a friendly but terse assistant."
  )
chat = ChatOllama(
model = "gemma3:1b",
system_prompt = "You are a friendly but terse assistant.",
)For more complex instructions or longer prompts, you might want to keep them in a separate file. Both ellmer and chatlas allow you to read the content of an external file and use it as your system prompt.
readme_url <- "link/to/prompt.md"
readme_content <- paste(readLines(readme_url, warn = FALSE), collapse = "\n")

chat <- chat_ollama(
    model = "gemma3:1b",
    system_prompt = paste(readme_content),
    echo = TRUE
  )
import requests
readme_url = "link/to/prompt.md"
response = requests.get(readme_url)
readme_content = response.text
chat = ChatOllama(
model = "gemma3:1b",
system_prompt = readme_content
)Crafting effective prompts is a skill in itself! The ellmer documentation and chatlas documentation have more resources for learning best practices in prompt engineering. In R, the btw package can teach LLMs about R packages so they reference the documentation to provide recent, accurate responses.
Clearing the conversation cache
LLMs are designed to maintain context throughout a conversation. This “conversational memory” allows them to provide coherent and relevant responses. However, sometimes this memory can become a hindrance. The previous conversation turns might lead the model down a specific path or bias its responses in a way that’s no longer desired.
To effectively tell your AI, “Forget everything we just talked about and let’s start fresh,” both ellmer and chatlas provide simple ways to clear the conversation’s history, or “cache”:
chat$set_turns(list())chat.set_turns([])Alternatively, you can also create a brand new chat object. The next interaction will be treated as the beginning of a brand new conversation.
Explore local LLMs for data science
We’ve unpacked the process of bringing generative AI to your local machine, from setting up Ollama to integrating it with ellmer and chatlas. We hope that the tips on managing resources, refining output, and leveraging the power of a dedicated AI server are helpful to you.
Now that you’re able to access an LLM without signing up for a service, we’d love for you to experiment with the code examples, try different LLMs, and see what you can create (and if you’d like to share your project, we started a discussion thread here)!
To help you take your next steps, here are some valuable resources to explore:
- Dive deeper into building GenAI apps with Shiny for Python. Check out the Shiny for Python Generative AI Docs for practical guidance.
- Dr. Athanasia Mo Mowinckel shares a fascinating look at how to use local LLMs and GitHub Copilot for package development.
- For those curious about using LLMs directly from the terminal, Simon Willison’s post on LLMs on the command line offers another interesting perspective.

Isabella Velásquez
Related Content

MCP Servers on Connect: Managing credentials and access

Score a Disease Surveillance Model Inside Snowflake, Without Moving
