Deploying Shiny for Python apps built with Tapyr to Posit Connect

What is Tapyr?
“Tapyr” is a framework by Appsilon that allows you to quickly and easily create and deploy enterprise-ready Shiny for Python dashboards. If this sounds familiar, then you have probably already heard of its older sibling, Rhino. Essentially, Tapyr is the Rhino equivalent for Shiny for Python apps, which means that besides having a similar tagline, it also brings these features to the table:
- A standard app structure
- Built-in framework for testing (Playwright)
- Shiny!
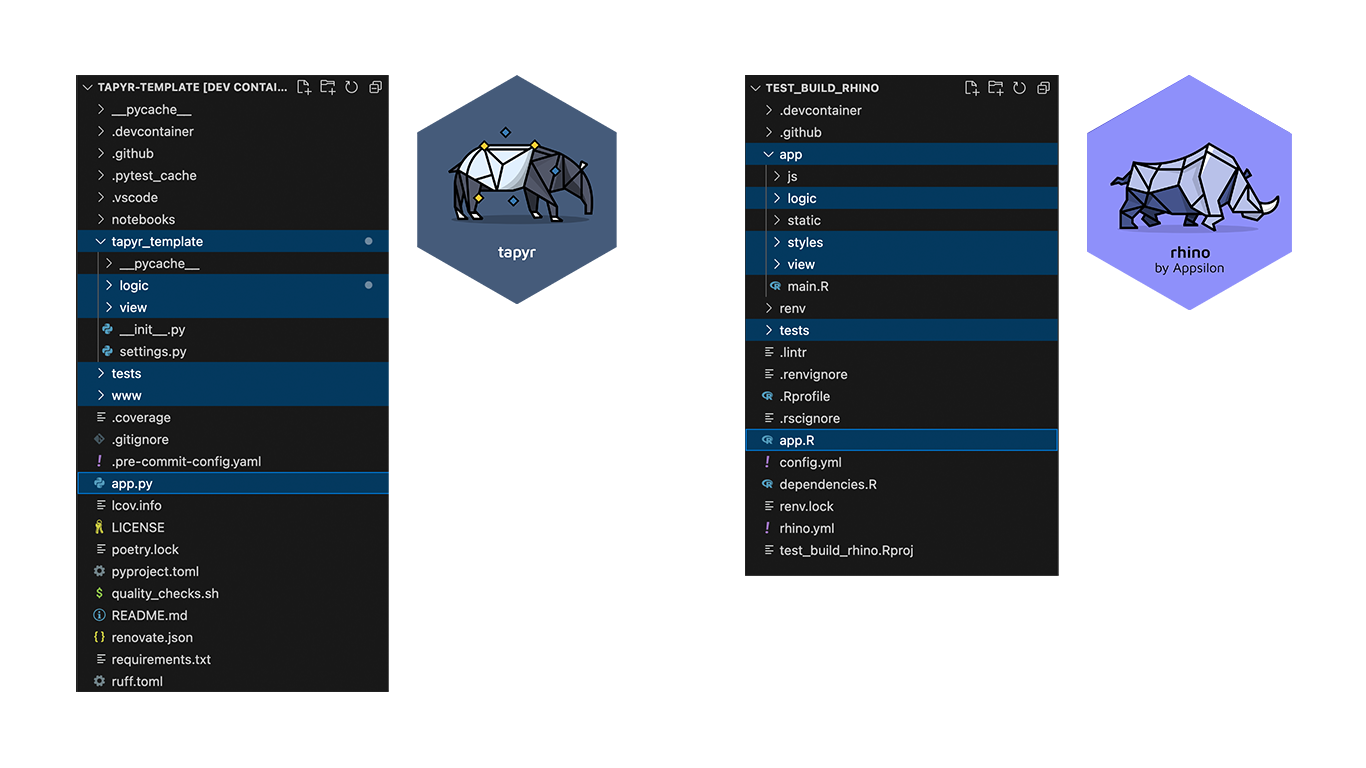
You can read more about Tapyr in this blog post.
What is Posit Connect?
Formerly known as RStudio Connect, Posit Connect is a powerful publishing platform designed for sharing and managing data science content and applications within an organisation. Posit Connect allows you to deploy many of the most popular Python and R frameworks such as Shiny, Dash, Streamlit, Bokeh, Quarto, R Markdown, Jupyter Notebook, FastAPI, Flask, Plumber, and more in one convenient place.
Posit Connect plays a crucial role in deploying applications by providing a seamless and secure environment for sharing, managing, and scaling data science content. It ensures that only authorized users can view or interact with the deployed content, thanks to the built-in user authentication and access controls.
Create a simple Tapyr application
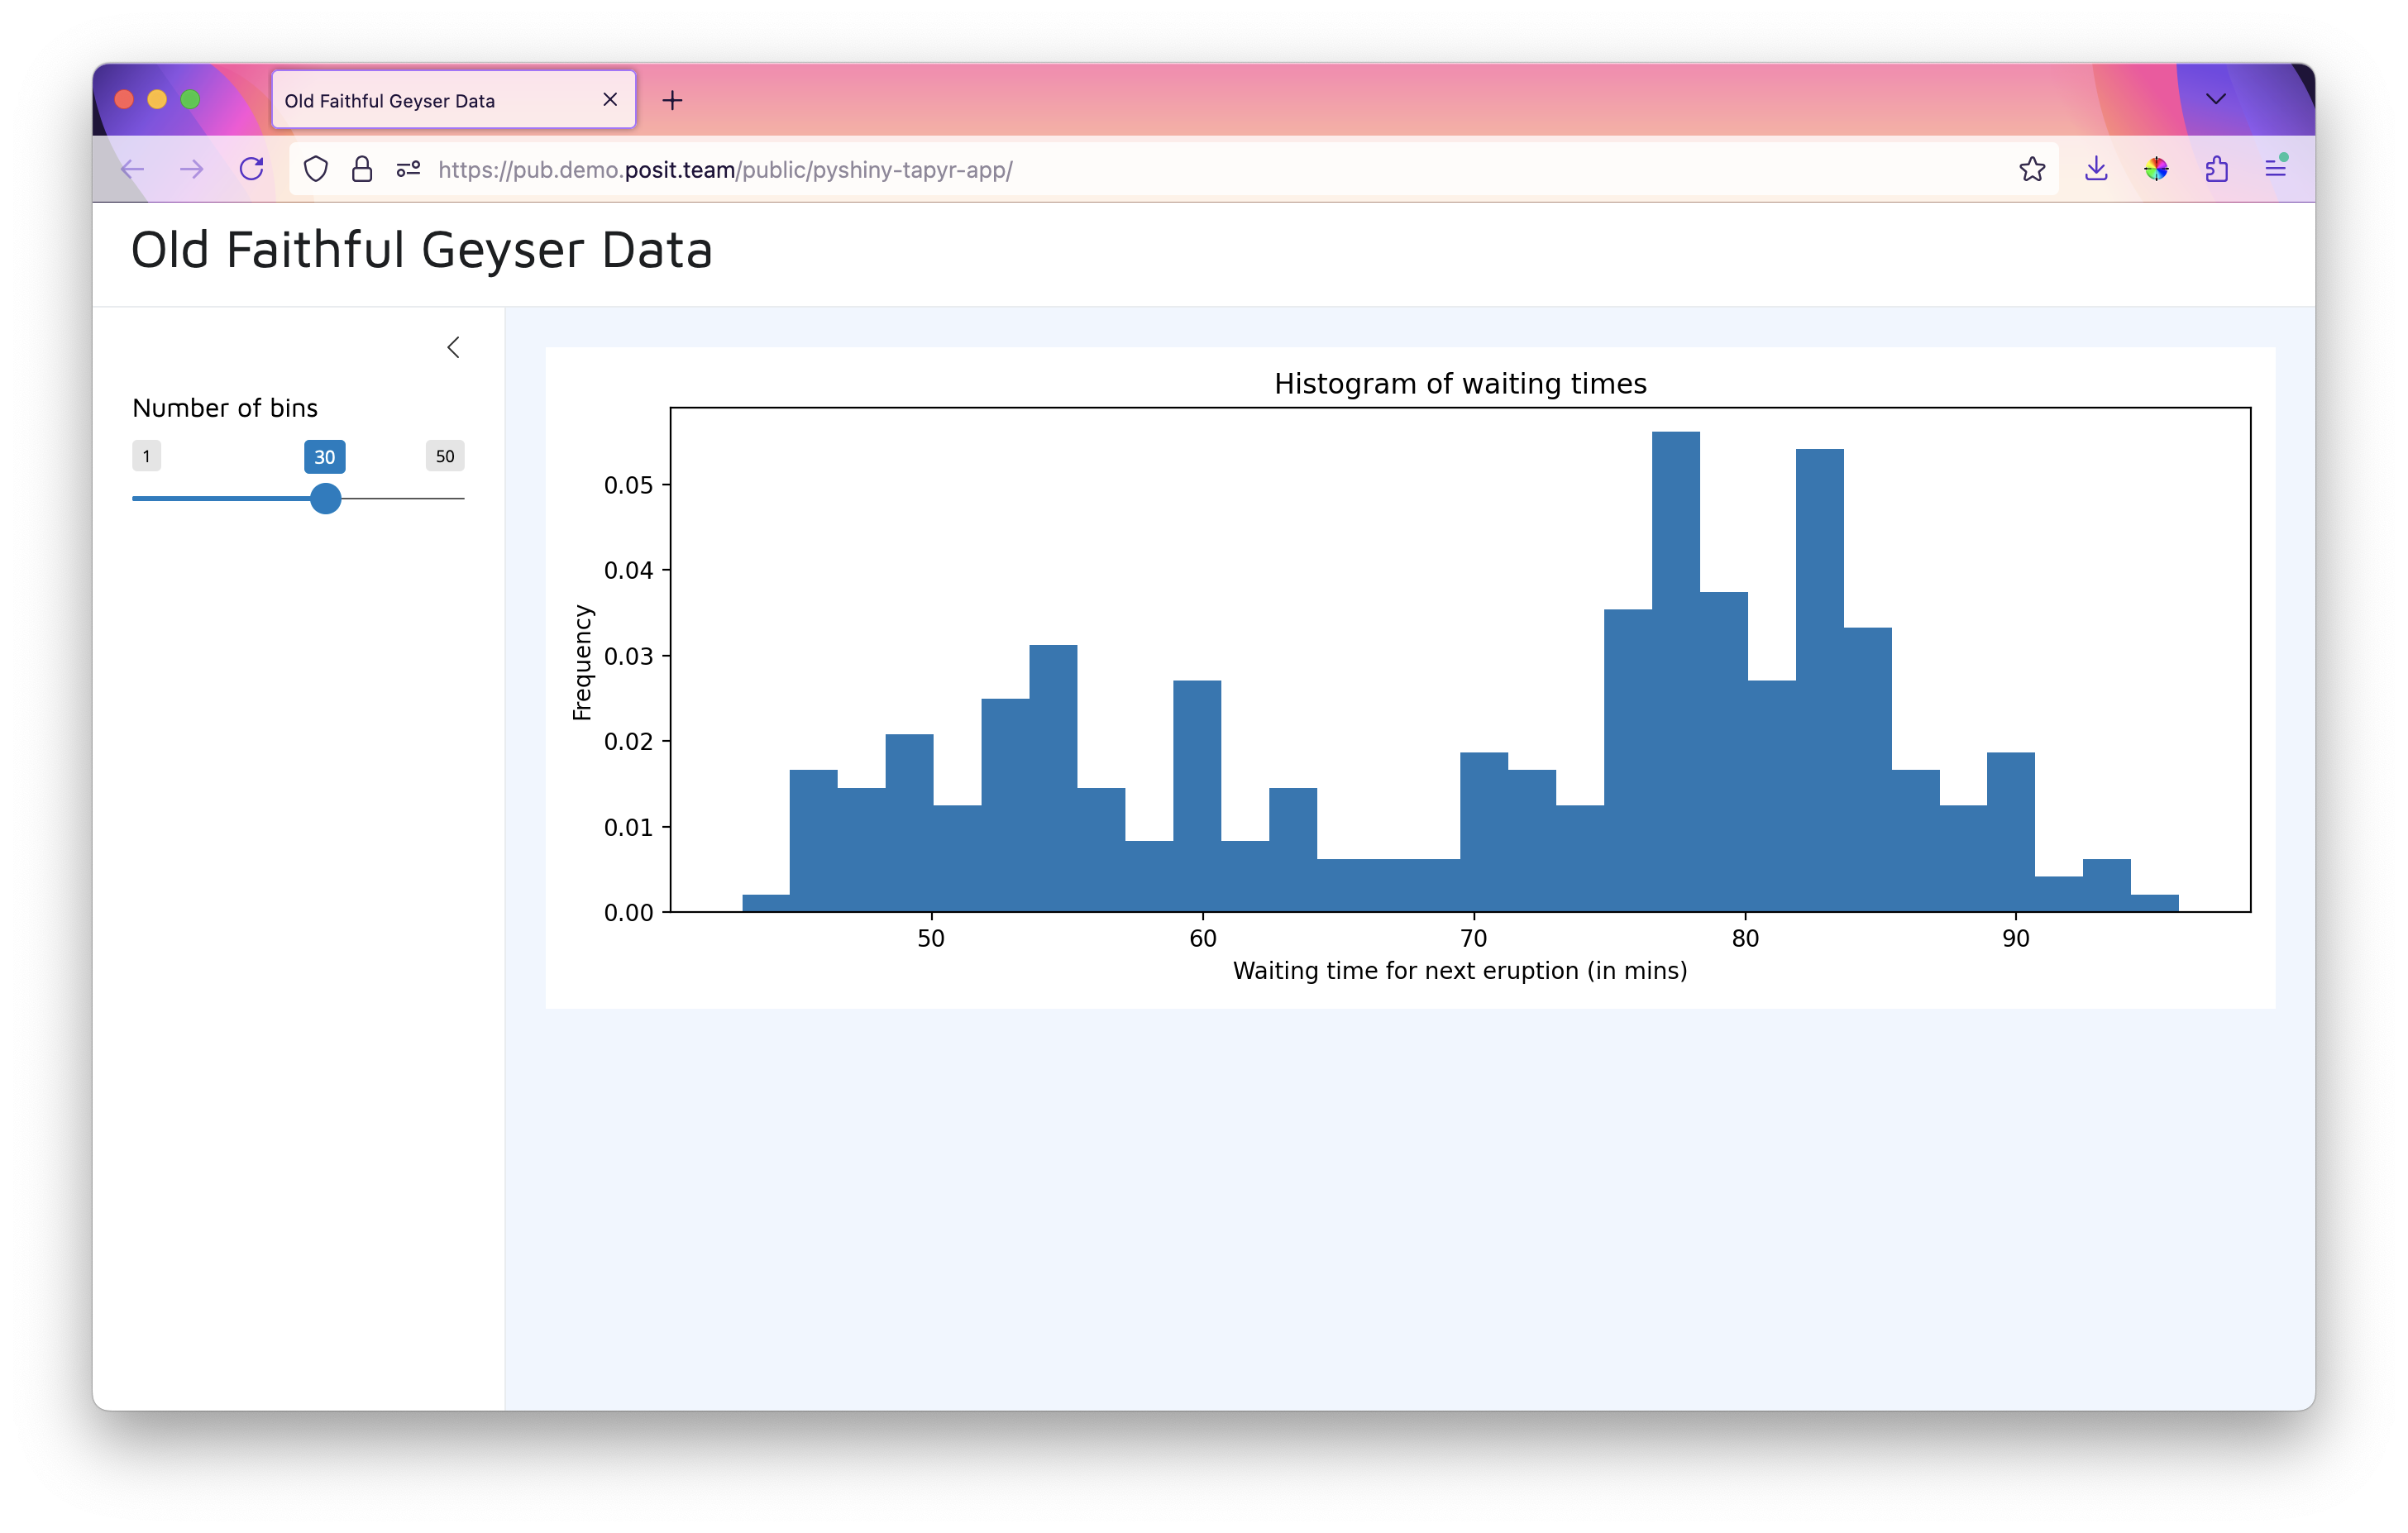
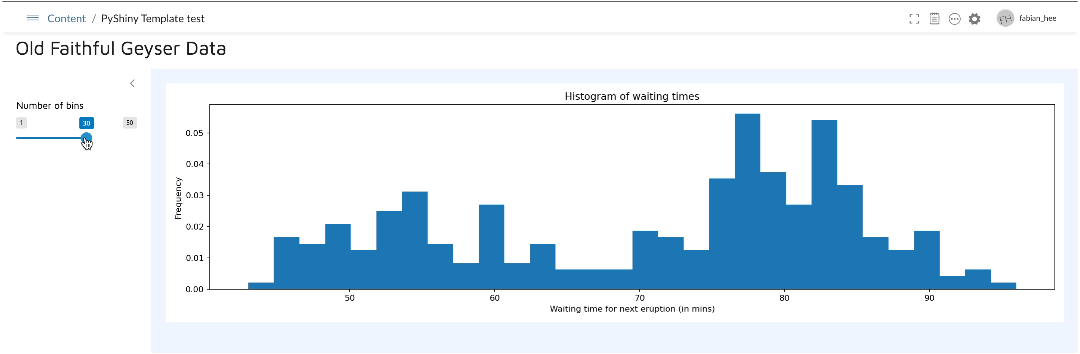
Let’s re-create the famous “Old Faithful Geyser Data” app from R in Shiny for Python (see the deployed app here):
Now let’s get ready for the Tapyr experience…
Deploying a Tapyr application to Posit Connect
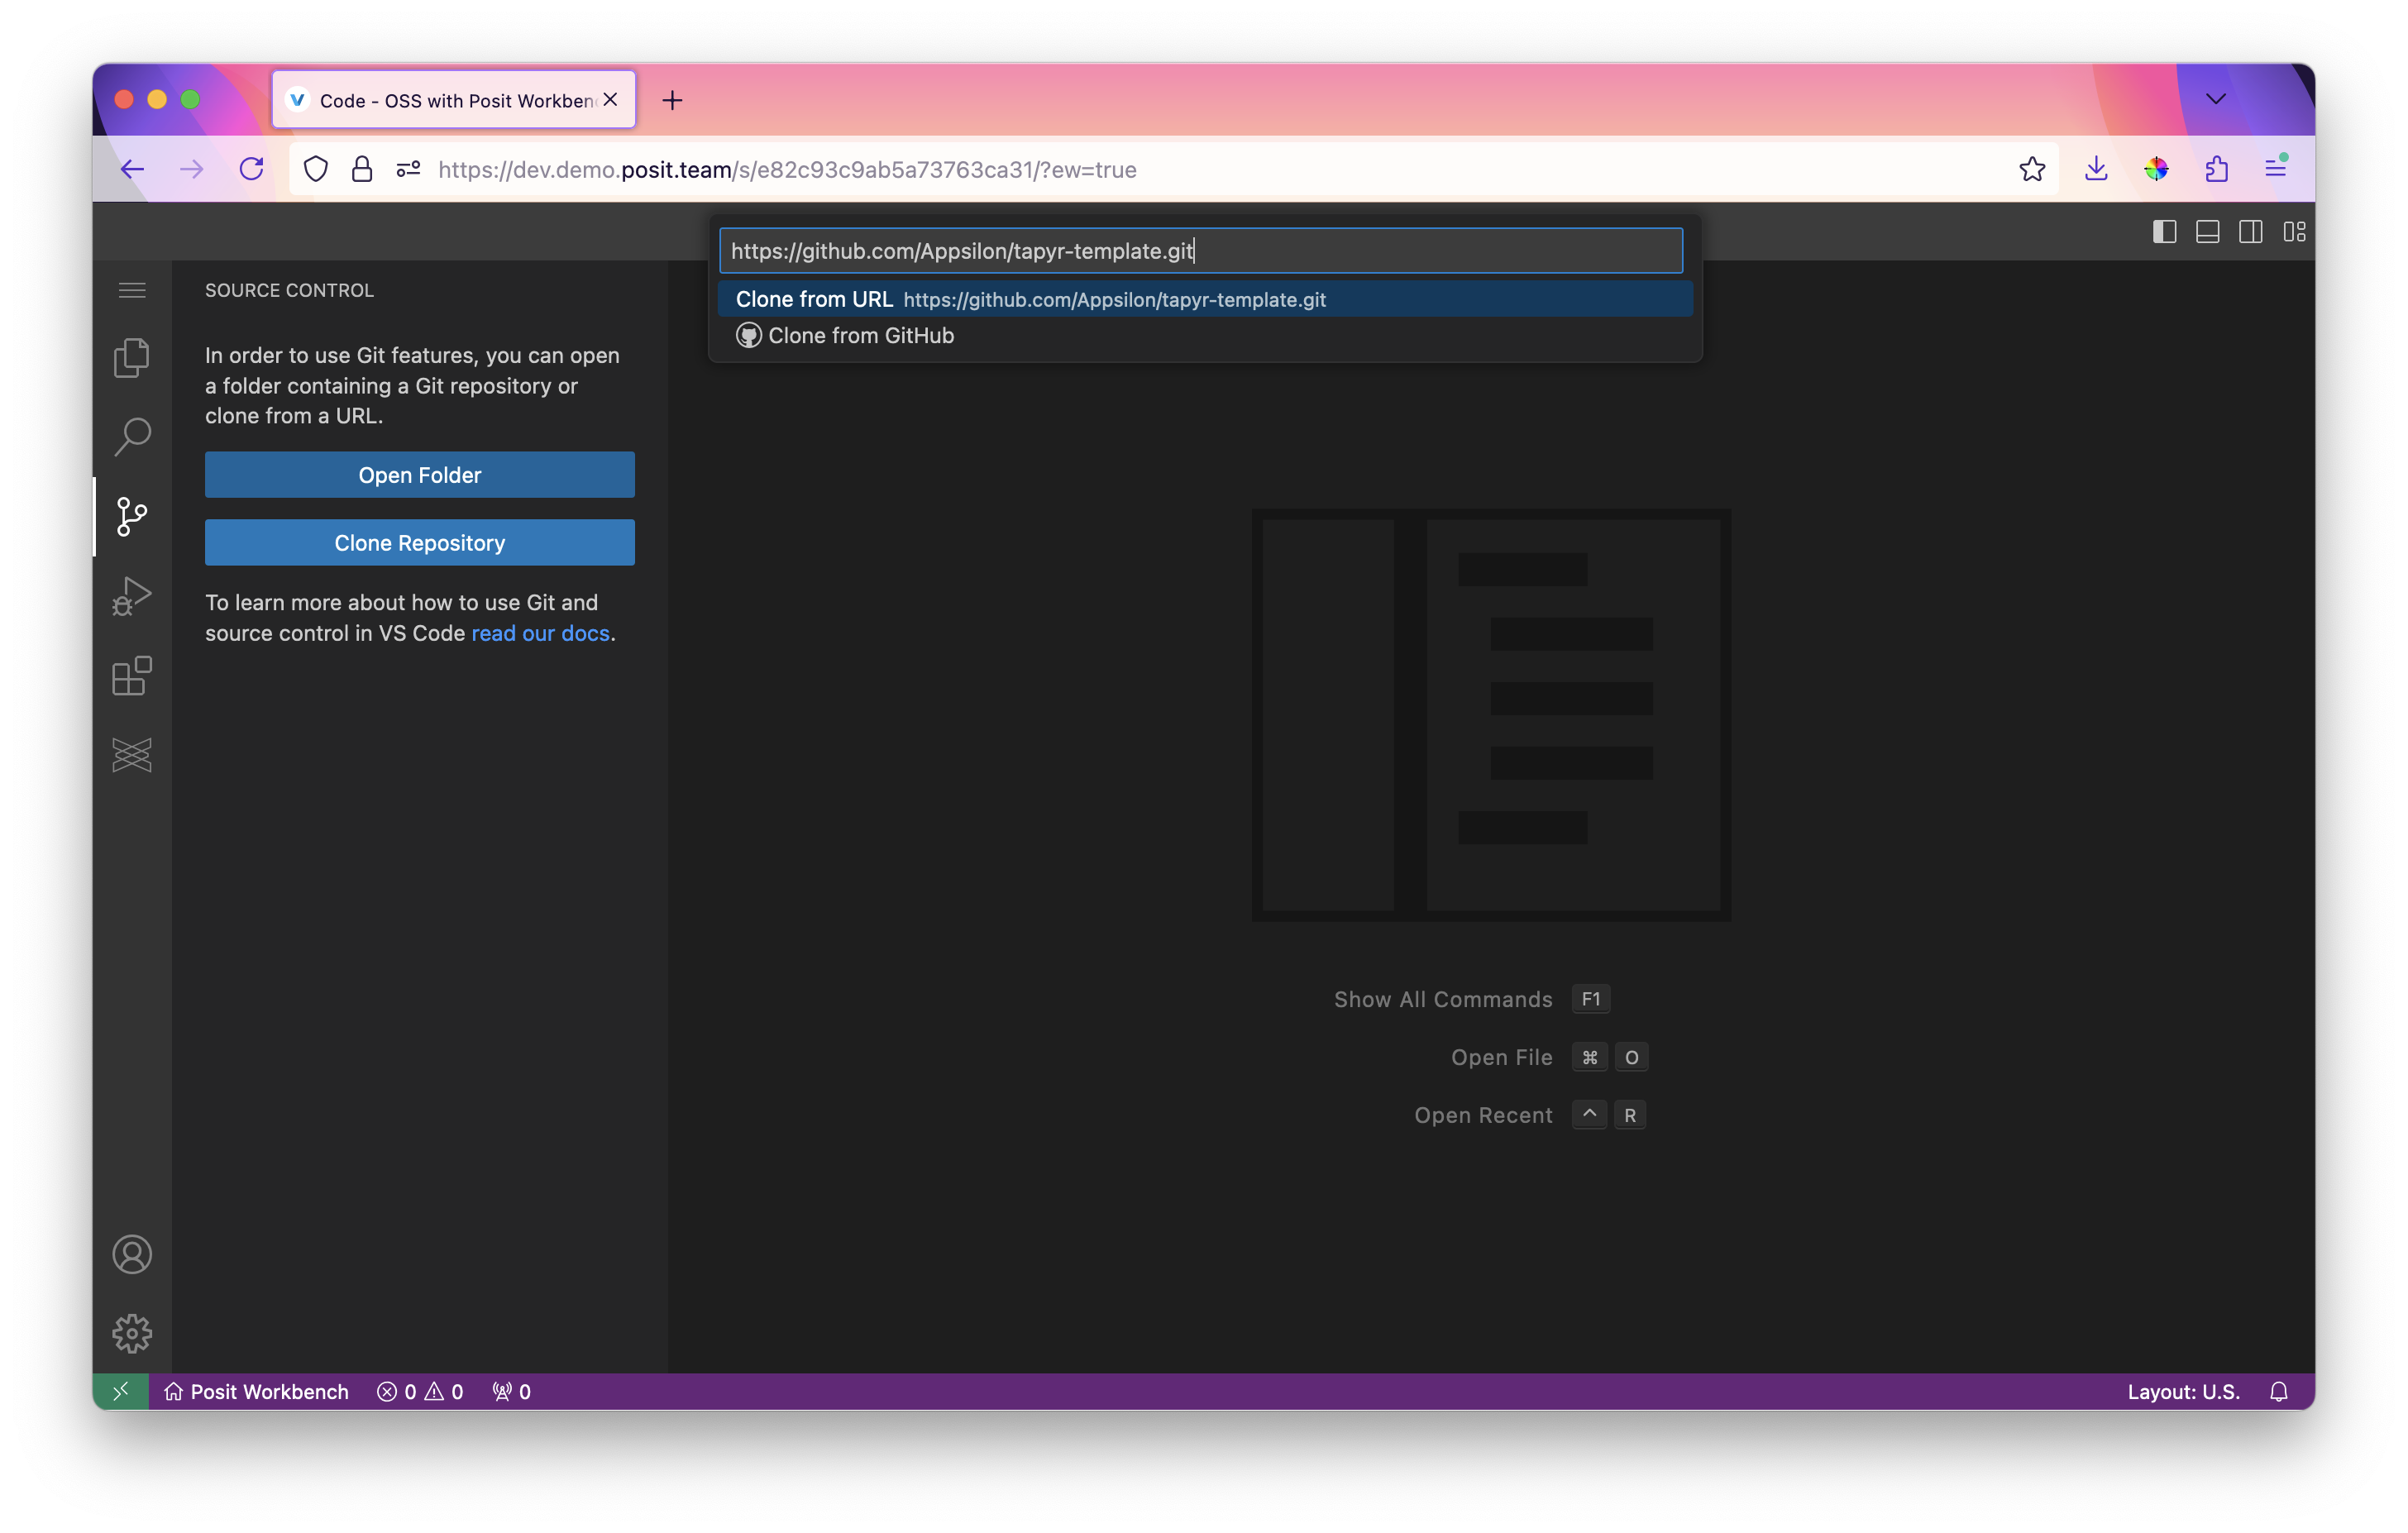
First of all, let’s create a simple Tapyr application to be deployed. We can start with the tapyr template repository on GitHub. For simplicity, you can use VS Code to clone the repository from GitHub to your machine or Posit Workbench instance.
Setting up the dependencies
Start up your Visual Studio Code (vscode) Integrated Development Environment (IDE) and open up the cloned repository from the previous step.
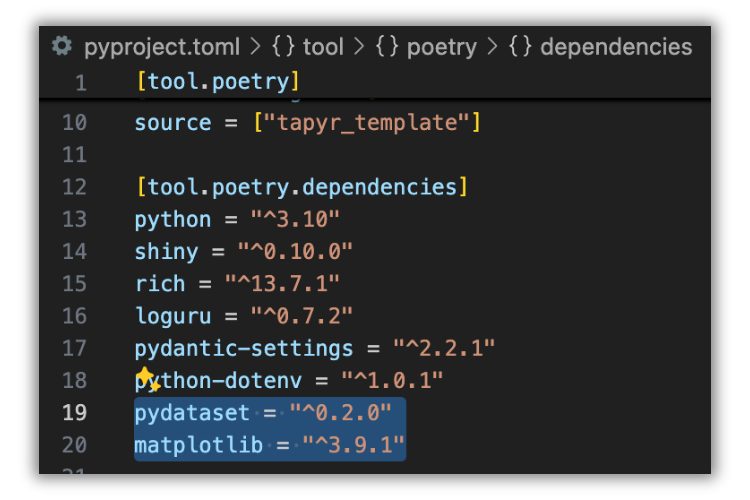
In the following sections we will be using poetry which is a Python package and dependency manager that enables you to manage your projects in a deterministic way. Tapyr was built on this framework as a base, so you will first need to install it with your favorite package installer, such as pipx:
pipx install poetryAfter that, we install all dependencies for the project:
poetry install
playwright install
Unlike in R, Python doesn’t come with the base datasets that we can quickly and easily manipulate, so we’ll have to do a bit of work beforehand. Fortunately for us, GitHub developer iamaziz has already done the work and you can easily import the pydataset library that’s available at pypi.org.
In this case, we’ll need pydataset and matplotlib, which is analogous to the basic plot rendering engine available in Shiny for R.
To do this, in your Bash shell, run:
poetry add pydataset matplotlibThis is analogous to running this line in Rhino for Shiny for R:
rhino::pkg_install(c("package_with_dataset", "package_with_visualisation_engine"))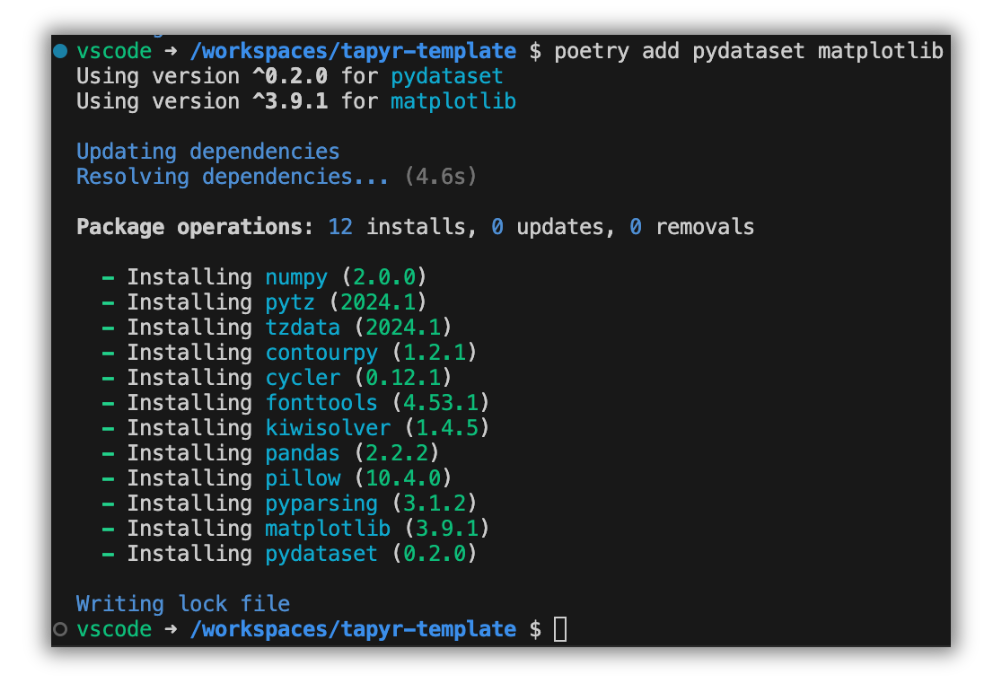
Now we are ready to…
Add the Shiny for Python app to the Tapyr structure
The Tapyr template comes with a readily defined structure that we can simply modify to our liking. In this case, we will modify only the ui and server parts to achieve what we need.
For ui.py:
# tapyr_template/view/root/ui.py

from shiny import ui

def get_dashboard_ui() -> ui.Tag:
    return ui.page_sidebar(
        ui.sidebar(
            ui.input_slider("n", "Number of bins", 1, 50, 30),
        ),
        ui.output_plot("plot"),
        title=ui.h2("Old Faithful Geyser Data"),
    )
For server.py:
# tapyr_template/view/root/server.py

import matplotlib.pyplot as plt
from pydataset import data
from shiny import Inputs, Outputs, Session, render


def server(input: Inputs, output: Outputs, session: Session):
    @render.plot(alt="Old Faithful histogram")
    def plot():
        df = data("faithful")
        x_axis_data = df["waiting"]

        fig, ax = plt.subplots()
        ax.hist(x_axis_data, input.n(), density=True)
        ax.set_title("Histogram of waiting times")
        ax.set_xlabel("Waiting time for next eruption (in mins)")
        ax.set_ylabel("Frequency")

        return fig
Here we are simply modifying the ui function get_dashboard_ui() to have the standard sidebar page with a slider element and plot output. The server function has the basic logic to generate the histogram directed to the corresponding plot output.
After that, in a Bash shell, just run:
poetry shell

shiny run app.py --reload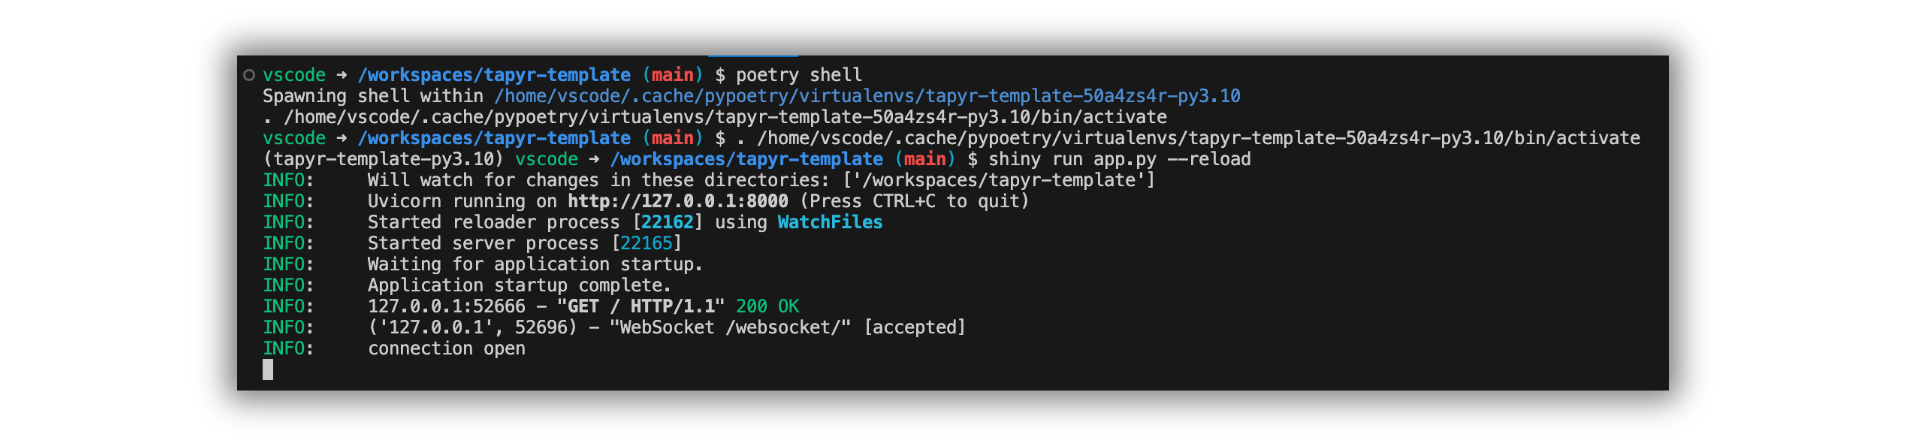
--reload flag for auto update on Save.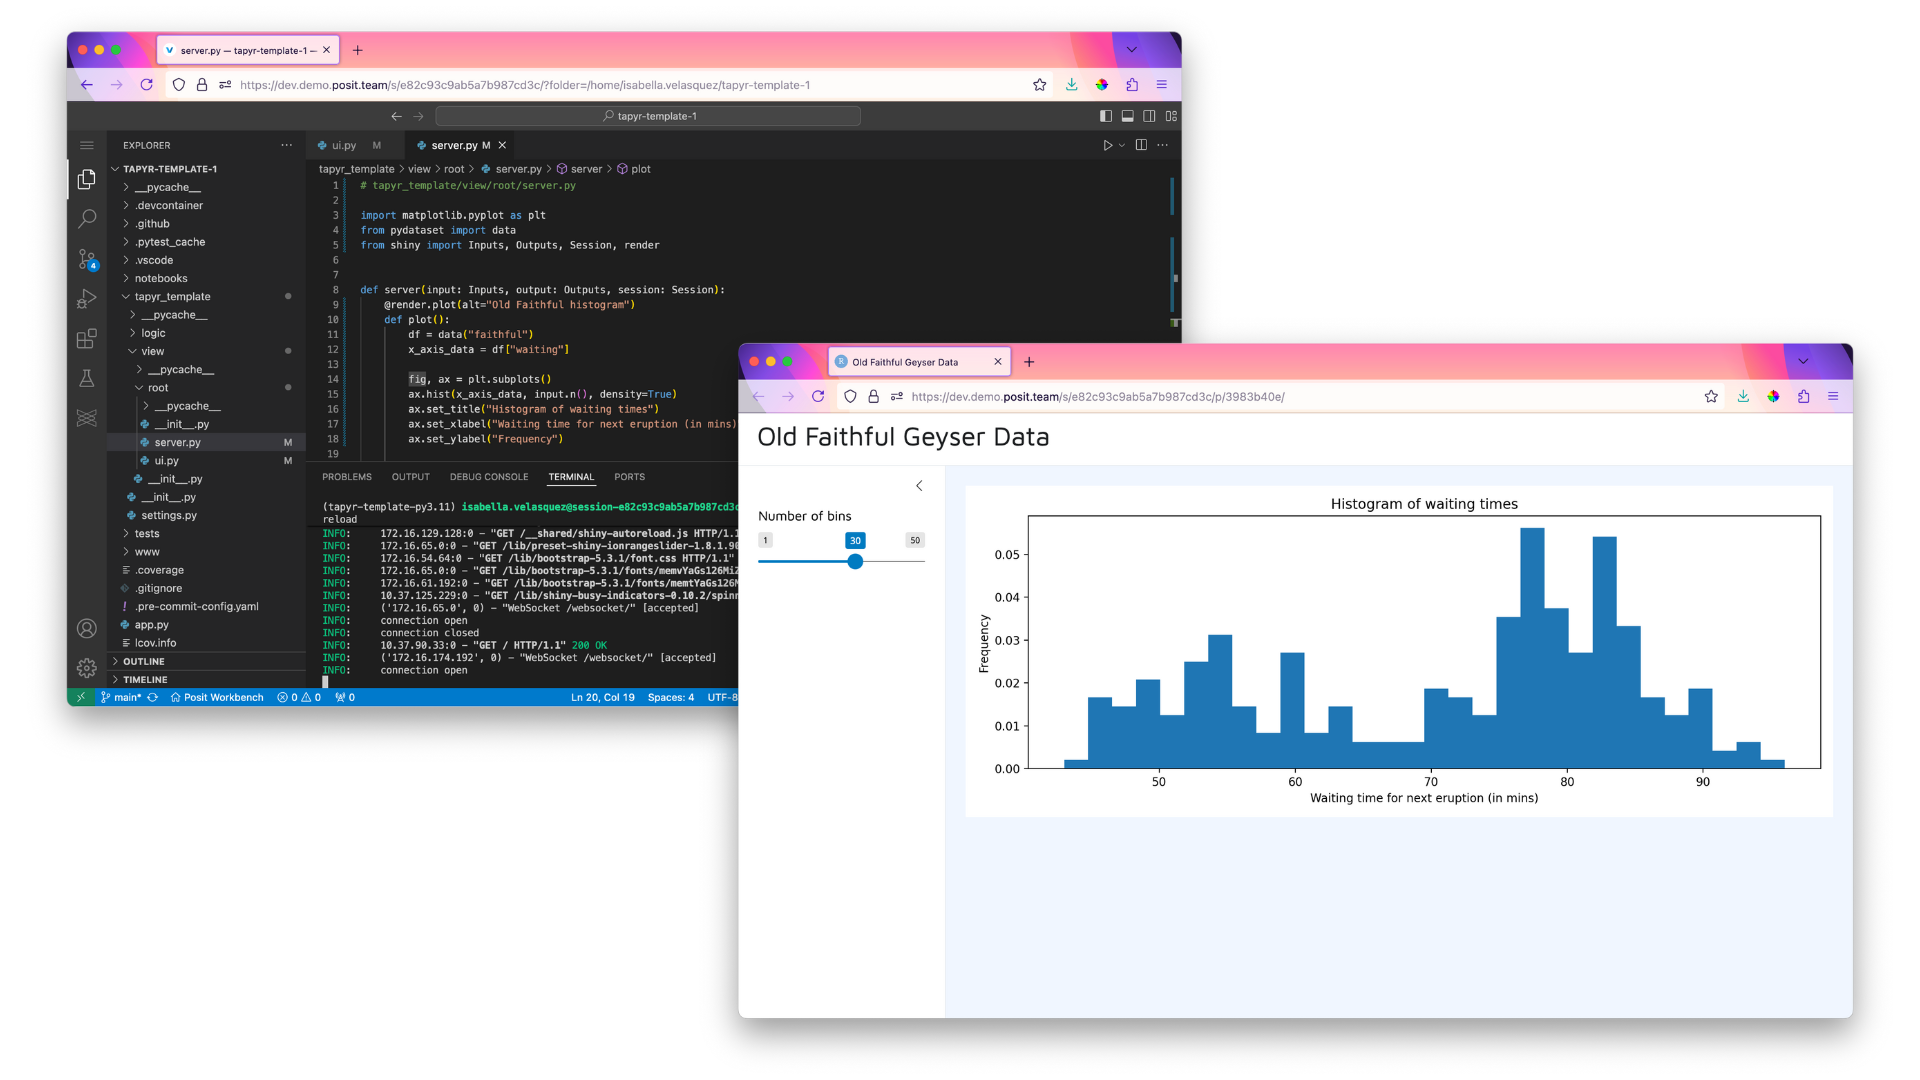
With a working application, we can now…
Deploy to Posit Connect
The deployment process is quite straightforward, but requires some additional prerequisites at this moment in time.
Prerequisites
There is one additional step needed before the deployment: updating the requirements.txt file.
poetry export --without-hashes --format=requirements.txt > requirements.txtOptionally, in order to avoid warnings during deployment, we run this:
poetry add poetry-plugin-export --group devThe current version of poetry has this installed but it will be moved out as an external library in the near future. You can still run without this, you’ll just get a warning during deployment.
Export your API key
Export your Posit Connect API key first. You can obtain it from your Posit Connect main dashboard. Then, in your Bash shell, export it:
export CONNECT_API_KEY="your_api_key_here"Configure Posit Connect
Then configure your environment so you have everything you need to deploy. <YOUR_CONNECT_URL> is your Posit Connect server URL, for example, https://pub.demo.posit.team/, and <YOUR_SERVER_NICKNAME> is an easily identifiable nickname for your Posit Connect server, such as "my-server".
rsconnect add \
  --api-key $CONNECT_API_KEY \
  --server <YOUR_CONNECT_URL> \
  --name <YOUR_SERVER_NICKNAME>
Deploy
Change the server nickname to the one you used above and the title to your intended app name:
rsconnect deploy shiny -n "my-server" -t "PyShiny Template test" .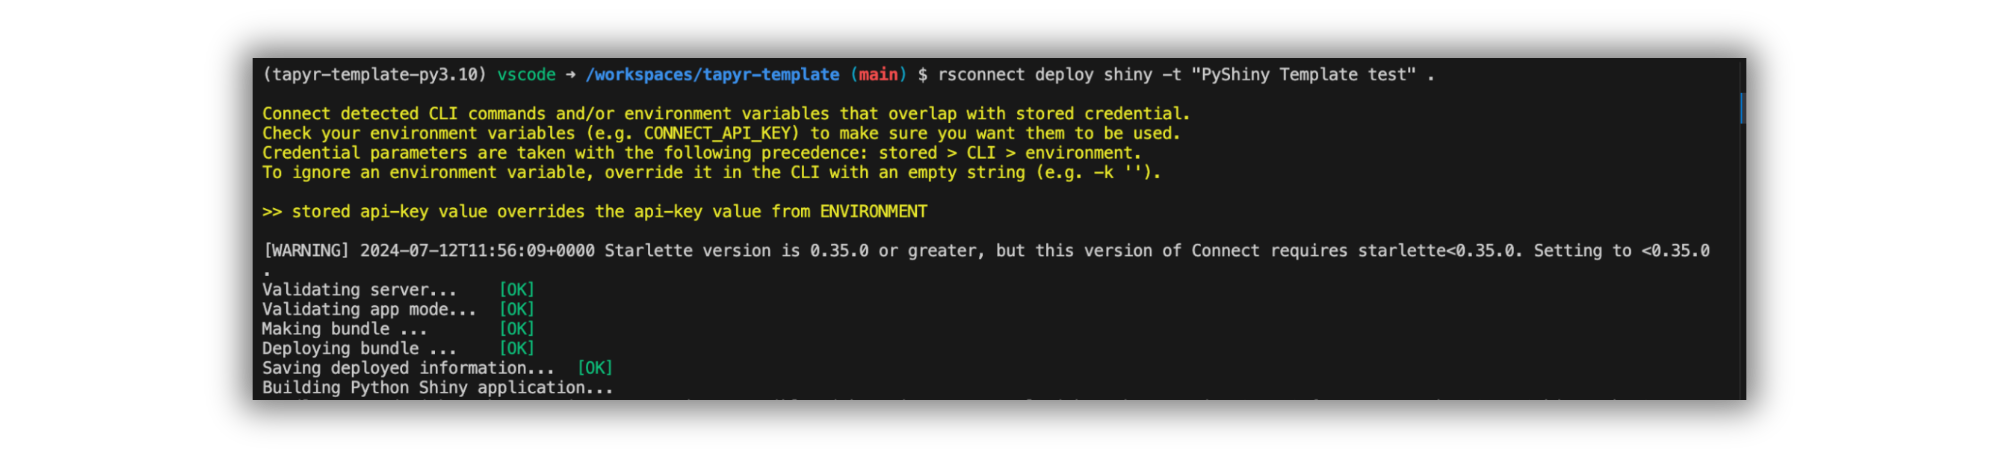
Check out the deployed app on Posit Connect!
Benefits of using Tapyr with Posit Connect
Tapyr in its essence is an ASGI Python app, and deploying it on Posit Connect offers significant benefits, particularly in terms of user access and safety. Posit Connect supports comprehensive user authentication and authorization mechanisms, ensuring that only authorized personnel can access sensitive data and applications.
You won’t have to worry about random users accessing your application, especially since there are role-based access control mechanisms that allow you to define specific permissions for different user groups. This means that you can have different groups of people using different deployed versions of your Tapyr app, depending on the type of deployment (testing, production, etc).
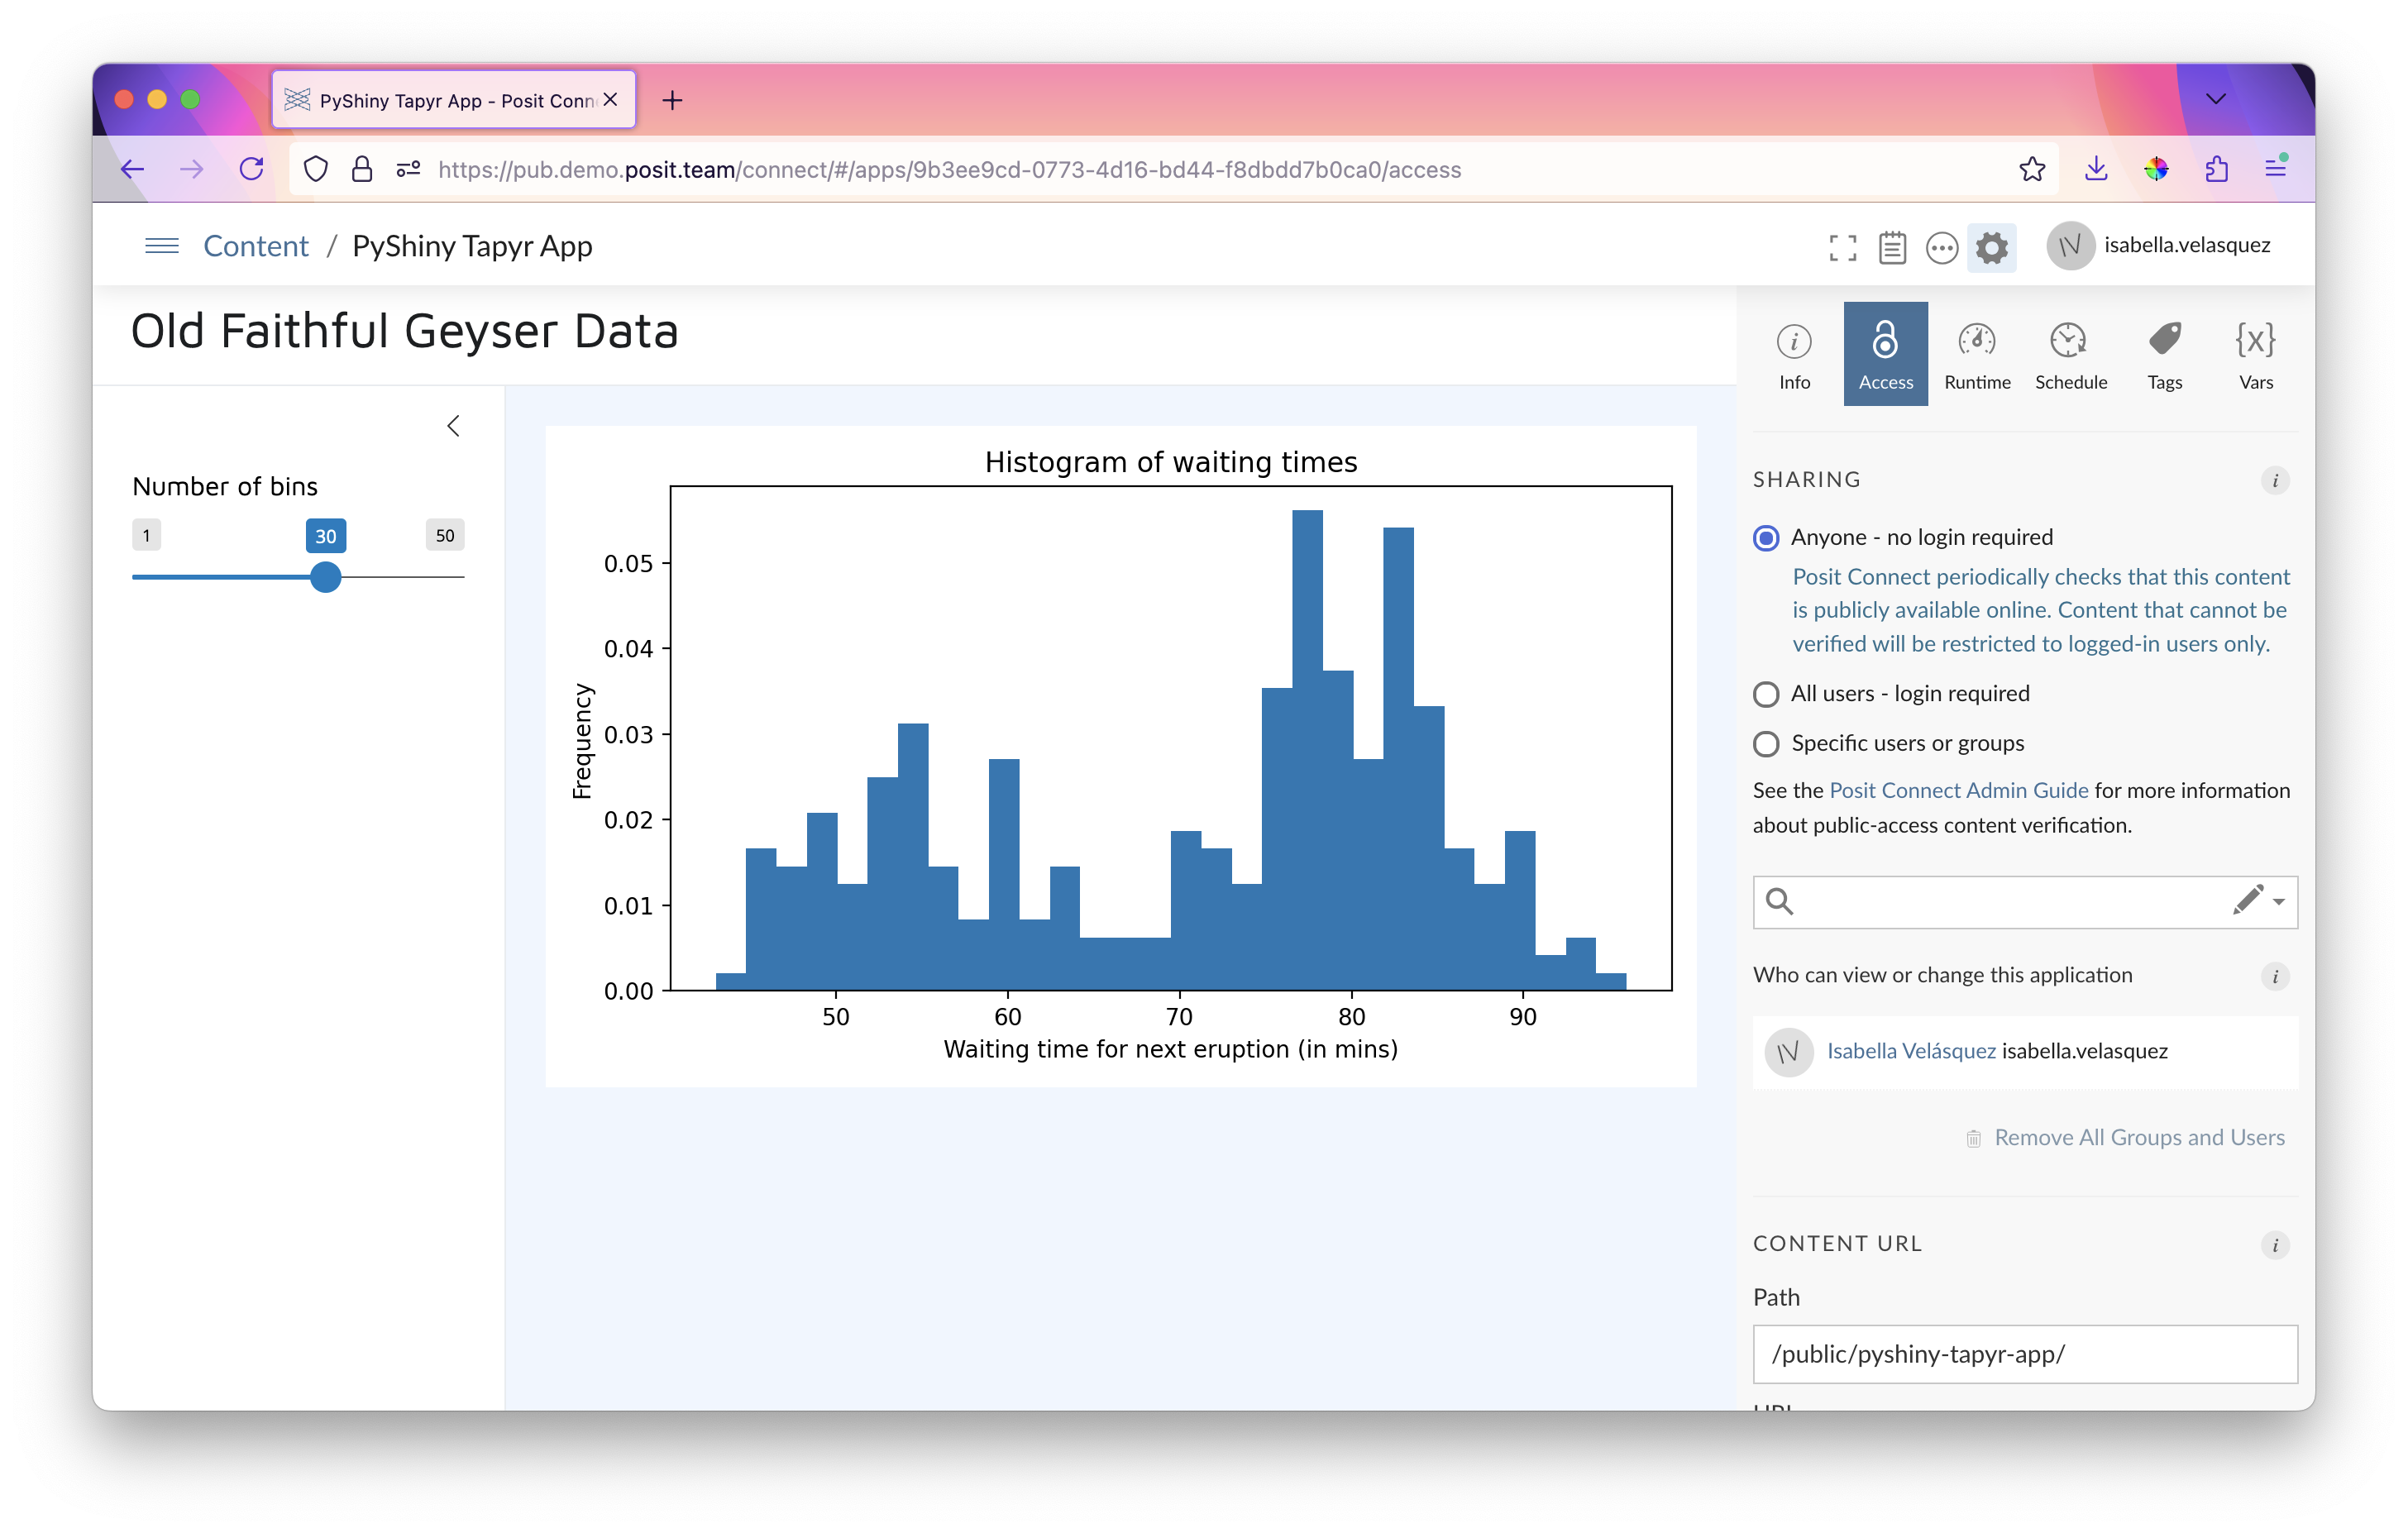
Additionally, Posit Connect provides auditing and monitoring capabilities, enabling you to track user activities on your deployed Tapyr app. This is beneficial for tracking usage as well as to enable you to make informed decisions on your app.
Posit Connect’s integration with the upcoming Positron IDE further amplifies its utility and ease of use. Positron, designed as a modern, feature-rich IDE for data science, allows users to develop and deploy applications seamlessly within the Posit ecosystem. Once more features come along towards its eventual release, the development-to-deployment workflow of Shiny for Python apps will be even more streamlined, specifically in terms of one-click deployment that already is a staple for Shiny for R apps in RStudio.
Further reading and links
Related Content

Don't bring a spreadsheet to a data fight

Snowflake Native Apps vs. Connected Apps for financial services
